How to Make Simple Syrup – Easy Homemade Recipe
You'll make simple syrup by combining equal parts granulated sugar and water in a medium saucepan over medium heat. Stir the mixture until the sugar completely dissolves and the liquid becomes crystal clear, about 3-5 minutes. Once cooled to room temperature (approximately 30 minutes), transfer your syrup to an airtight container and refrigerate for up to one month. With this basic recipe mastered, you'll discover endless possibilities for flavored variations and creative culinary applications.
Key Takeaway
- Combine equal parts granulated sugar and water (typically 1 cup each) in a medium saucepan over medium heat.
- Stir mixture gently until sugar completely dissolves and liquid becomes crystal clear.
- Allow syrup to cool to room temperature for approximately 30 minutes before transferring to storage container.
- Store in an airtight container in the refrigerator for up to one month at 40°F (4°C) or below.
- Use a 2:1 sugar-to-water ratio for thicker syrup, or 1:2 ratio for lighter sweetness in drinks.
What Is Simple Syrup?
Simple syrup is a foundational liquid sweetener that's made by dissolving equal parts granulated sugar and water through heating. You'll find this versatile ingredient in countless cocktails, beverages, and desserts, where it serves as an efficient way to incorporate sweetness without the graininess of undissolved sugar.
Unlike granulated sugar, which can be difficult to incorporate into cold drinks, simple syrup blends seamlessly into any mixture. You'll often see it called for in recipes under various names, including "sugar syrup" or "bar syrup." Professional bartenders and home mixologists rely on it as their go-to sweetener because it distributes evenly throughout beverages. The syrup's consistency can vary from thin to thick, depending on the ratio of sugar to water you use. While the standard 1:1 ratio produces a medium-bodied syrup, you can create a richer 2:1 ratio for more specialized applications, known as "rich simple syrup."
Essential Ingredients and Equipment
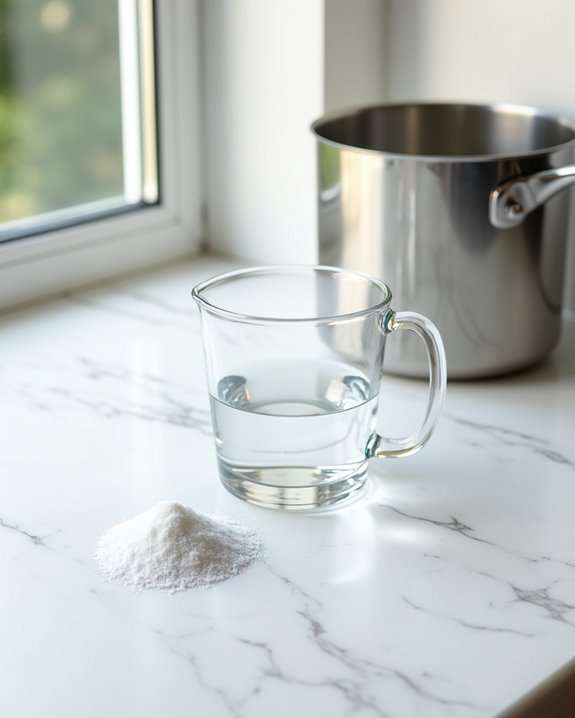
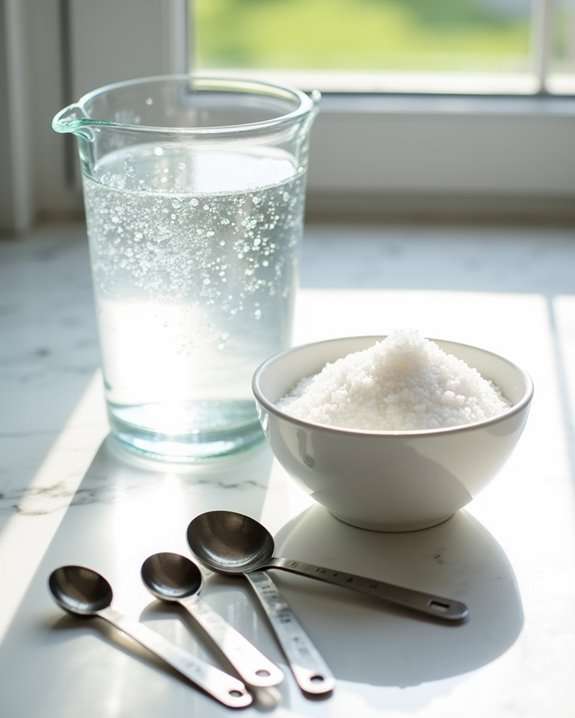
To make simple syrup at home, you'll need basic kitchen tools including a medium saucepan, measuring cups, a stirring spoon, and an airtight storage container. Your choice of sugar is essential, with options ranging from standard white granulated sugar to raw sugar variants, though white sugar produces the cleanest-tasting and most versatile syrup. While tap water works fine in most cases, you might prefer filtered or spring water if your local water supply has a strong mineral taste that could affect the syrup's flavor profile.
Basic Tools Required
Making simple syrup requires only a handful of basic kitchen tools and two core ingredients that you'll likely have on hand. To get started, you'll need a medium-sized saucepan for heating the mixture, preferably one with a heavy bottom to guarantee even heat distribution. You'll also want to have a long-handled spoon or heat-resistant silicone spatula for stirring, and a measuring cup for precise proportions.
For storing your finished syrup, you'll need an airtight container, such as a glass jar with a tight-fitting lid. A funnel will help you transfer the hot liquid without spills, and if you're planning to remove any impurities, a fine-mesh strainer is useful. Finally, keep a heat-resistant surface or trivet nearby to protect your countertop when cooling the syrup.
Sugar Types Matter
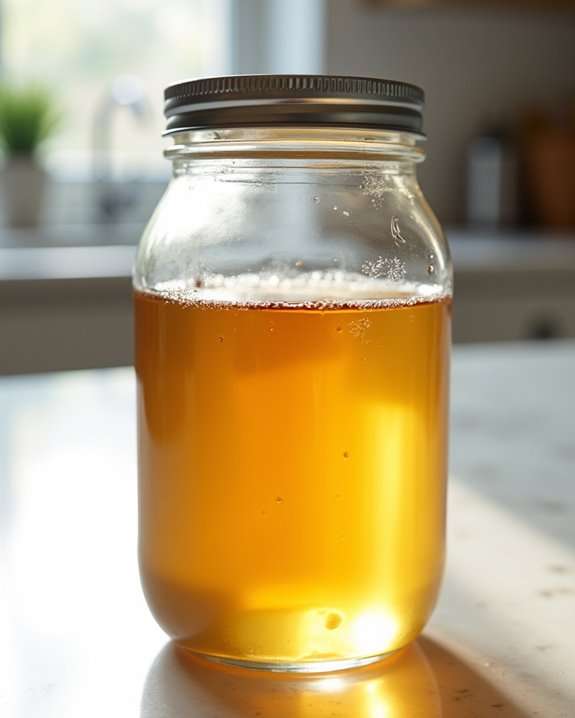
While the right tools set the foundation for making simple syrup, your choice of sugar plays an equally important role in determining the final product's taste, color, and texture. Regular granulated white sugar creates the most neutral-tasting, crystal-clear syrup that's perfect for cocktails and beverages. If you're looking for deeper flavors, raw sugar varieties like demerara or turbinado will produce amber-colored syrups with subtle molasses notes. For distinctive characteristics, try muscovado sugar, which yields a rich, dark syrup with complex caramel undertones.
You'll want to avoid powdered sugar, as it contains cornstarch that can make your syrup cloudy and affect its consistency. Similarly, artificial sweeteners aren't suitable replacements, as they don't dissolve properly or create the same syrupy texture you're aiming for.
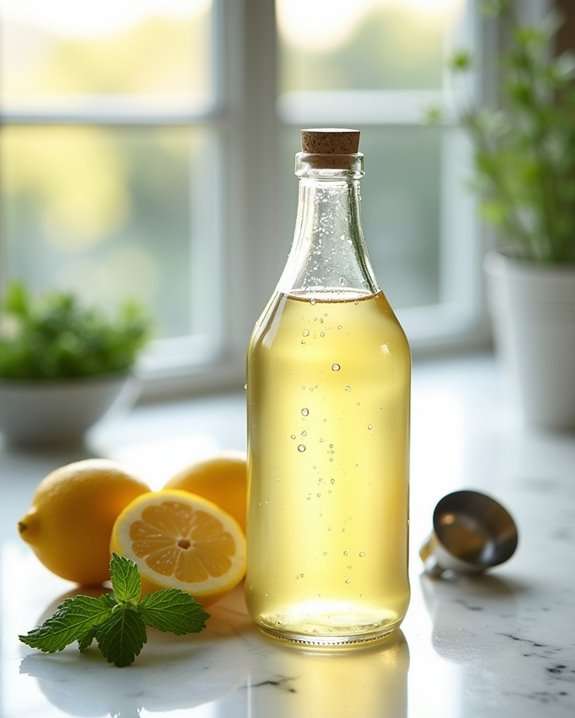
Water Selection Tips
Just as sugar quality influences your syrup's taste, the water you choose serves as an essential foundation for the final product. You'll want to select water that's clean, pure, and free from strong mineral content that could affect your syrup's flavor profile.
| Water Type | Best Uses |
|---|---|
| Filtered Tap | Everyday syrups |
| Spring Water | Premium cocktails |
| Distilled | Long-term storage |
| Mineral Water | Not recommended |
For best results, avoid using unfiltered tap water, which may contain chlorine or minerals that can create off-flavors. If you're using tap water, let it sit for 30 minutes to allow chlorine to dissipate, or run it through a carbon filter. When making syrups for craft cocktails or delicate infusions, spring water's balanced mineral content will enhance your final product without overwhelming subtle flavors.
Basic Simple Syrup Recipe
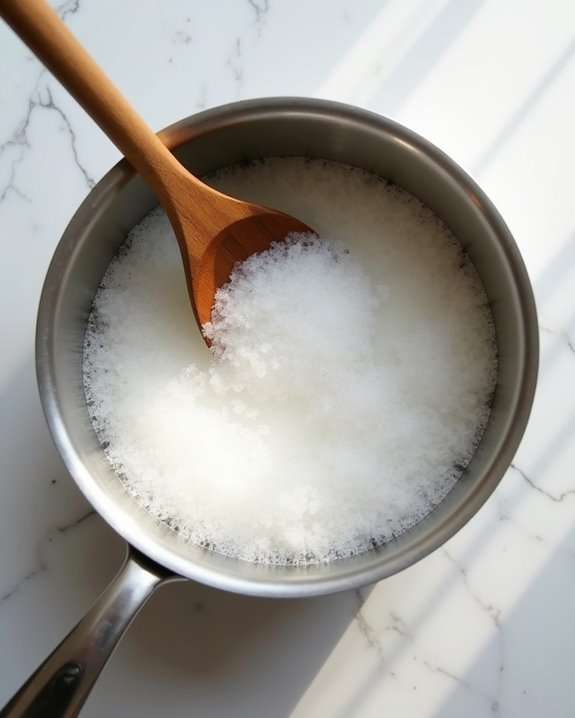
You'll need just two basic ingredients to make simple syrup: granulated sugar and water in equal parts, typically one cup of each. Starting with a medium saucepan over medium heat, combine your sugar and water, stirring occasionally until the sugar completely dissolves and the mixture turns clear. Once the syrup reaches this crystal-clear state, remove it from heat and let it cool to room temperature before transferring to an airtight container for storage.
Ingredients You'll Need
Making basic simple syrup requires only two fundamental ingredients that you'll find in any kitchen: granulated white sugar and water. You'll need equal parts of each ingredient, typically measured in cups or milliliters, depending on your preferred measurement system. For a standard batch, one cup of each component will yield approximately 1½ cups of finished syrup.
While table sugar works perfectly fine, you can experiment with other sugar varieties like cane sugar or superfine sugar, though these may slightly alter the final consistency and sweetness level. The water should be clean and filtered if possible, as impurities can affect both the syrup's clarity and shelf life. For basic recipes, tap water is generally acceptable, but if you're making large batches for commercial use, filtered or distilled water is recommended.
Step-by-Step Mixing Instructions
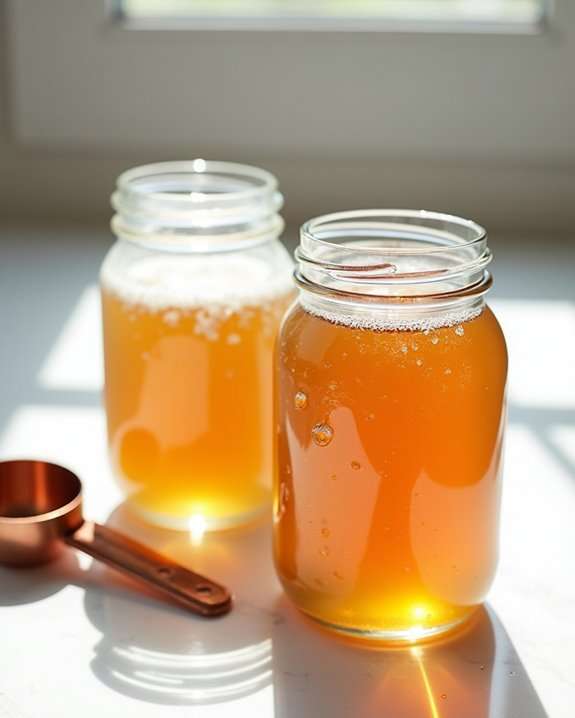
Preparing simple syrup begins with combining equal parts sugar and water in a medium-sized saucepan over medium heat. Stir the mixture continuously until the sugar completely dissolves, which typically takes 3-5 minutes. You'll know it's ready when the liquid becomes crystal clear and no sugar granules remain visible.
Remove the saucepan from heat and let your syrup cool to room temperature, about 30 minutes. During this time, don't stir the mixture, as this could cause crystallization. Once cooled, transfer the syrup to an airtight container or bottle using a funnel. If you notice any impurities, strain the liquid through a fine-mesh sieve. Your homemade simple syrup will keep in the refrigerator for up to one month when stored properly.
Adjusting Sugar to Water Ratios
Simple syrup's versatility comes from the ability to adjust its sugar-to-water ratio, creating different consistencies for various applications. The standard 1:1 ratio, where you'll use equal parts sugar and water, works well for most cocktails and beverages. However, you can customize the sweetness level based on your needs.
For a thicker, richer syrup, you'll want to try a 2:1 ratio (two parts sugar to one part water), often called "rich simple syrup." This concentrated version is perfect for cocktails where you don't want to dilute the drink too much. On the flip side, if you're looking for a lighter sweetness, consider a 1:2 ratio (one part sugar to two parts water). You'll find this thinner version ideal for iced tea and coffee drinks. Remember that changing the ratio will affect both the syrup's consistency and its shelf life – higher sugar content means longer preservation.
Storage Tips and Shelf Life
Once you've perfected your simple syrup recipe, proper storage becomes essential for maintaining its quality and extending its shelf life. You'll want to store your syrup in an airtight container, preferably glass, and keep it refrigerated to prevent bacterial growth and crystallization.
For best preservation and safety, follow these key storage guidelines:
- Store simple syrup in sterilized glass bottles or mason jars with tight-fitting lids
- Keep refrigerated at 40°F (4°C) or below to inhibit mold growth
- Label containers with the date of preparation for tracking freshness
- Use clean utensils when dispensing to prevent contamination
When stored properly, basic simple syrup typically lasts 3-4 weeks in the refrigerator. Rich simple syrup (2:1 ratio) can last up to 6 months due to its higher sugar content, which acts as a natural preservative. If you notice any cloudiness, off-odors, or mold growth, discard the syrup immediately.
Common Mistakes to Avoid
Making simple syrup may seem straightforward, but even experienced home mixologists can encounter setbacks that affect the final product's quality and usability.
Don't rush the dissolving process by cranking up the heat too high, as this can lead to crystallization or unwanted caramelization. You'll also want to avoid eyeballing measurements – always stick to the 1:1 ratio for standard simple syrup or 2:1 for rich syrup. When stirring, use gentle movements to prevent splashing hot liquid, and don't stop stirring until the sugar's completely dissolved.
Another common error is bottling the syrup while it's still hot, which can create condensation and promote bacterial growth. Wait until it's completely cool before transferring to storage containers. Finally, don't skip straining your syrup, even if it looks clear – tiny undissolved sugar particles can cause crystallization later. Remember to use clean utensils every time you handle the syrup to prevent contamination.
Flavored Simple Syrup Variations
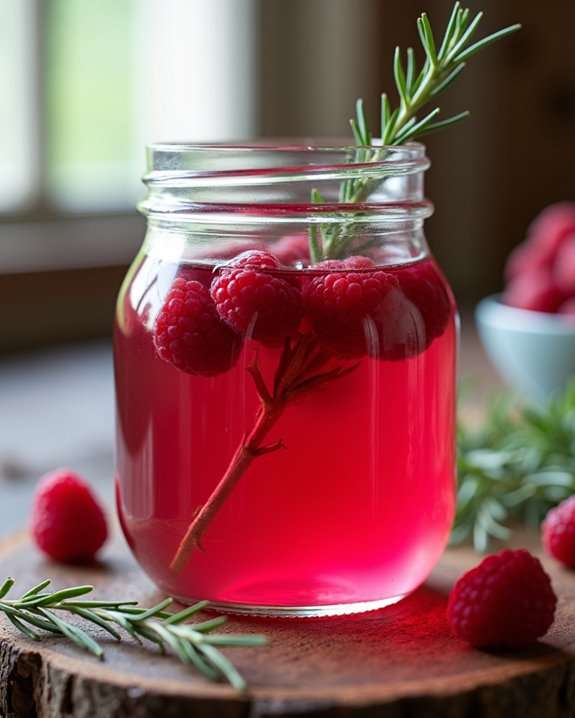
While traditional simple syrup serves as a reliable sweetener, flavored variations can transform your cocktails, beverages, and culinary creations into distinctive treats. You'll find endless possibilities for infusing your syrup with herbs, spices, fruits, and other aromatics to create unique flavor profiles.
To create flavored simple syrups, simply add your chosen ingredients during or after the cooking process. Here are some popular variations you can try:
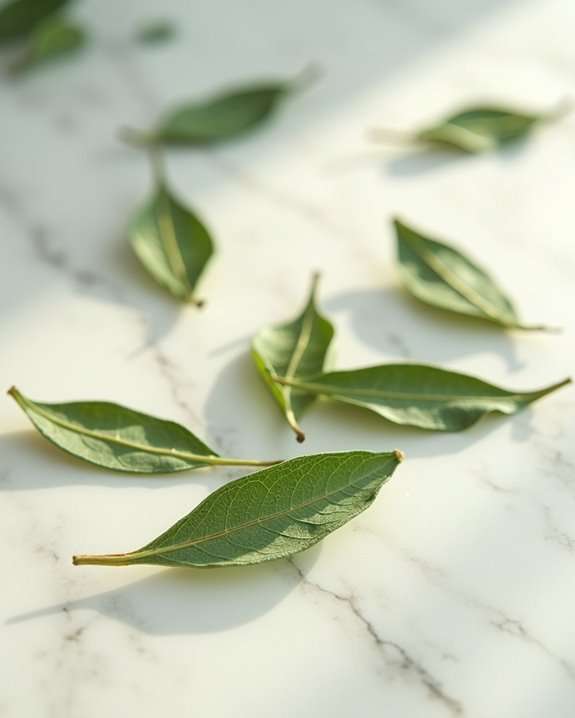
- Herb-infused: Add fresh mint, basil, rosemary, or lavender sprigs while the syrup is still hot
- Spiced: Incorporate cinnamon sticks, whole cloves, cardamom pods, or star anise
- Fruit-forward: Steep fresh berries, citrus peels, or ginger root for bright flavors
- Floral: Include dried hibiscus flowers, rose petals, or elderflower for delicate notes
Remember to strain your flavored syrup through a fine-mesh sieve after steeping, and store it in an airtight container in the refrigerator for up to one month.
Creative Uses Beyond Cocktails
Simple syrup's versatility extends far beyond the domain of cocktails and beverages. You'll find endless applications in your kitchen, from brushing it onto cakes to keep them moist to drizzling it over fresh fruit salads for added sweetness and shine. The syrup works perfectly as a natural sweetener for your morning coffee, iced tea, or homemade lemonade.
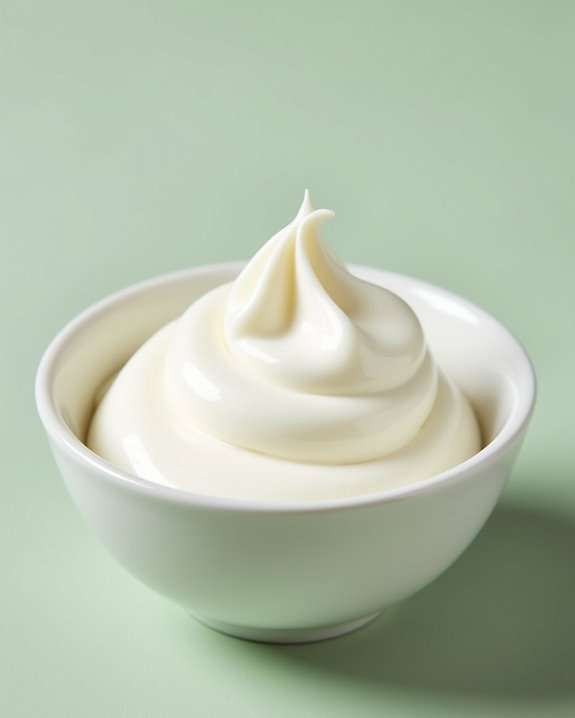
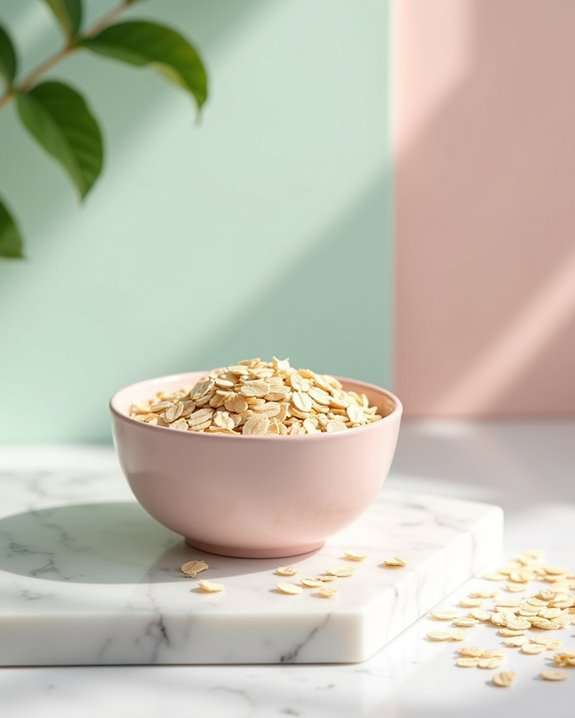
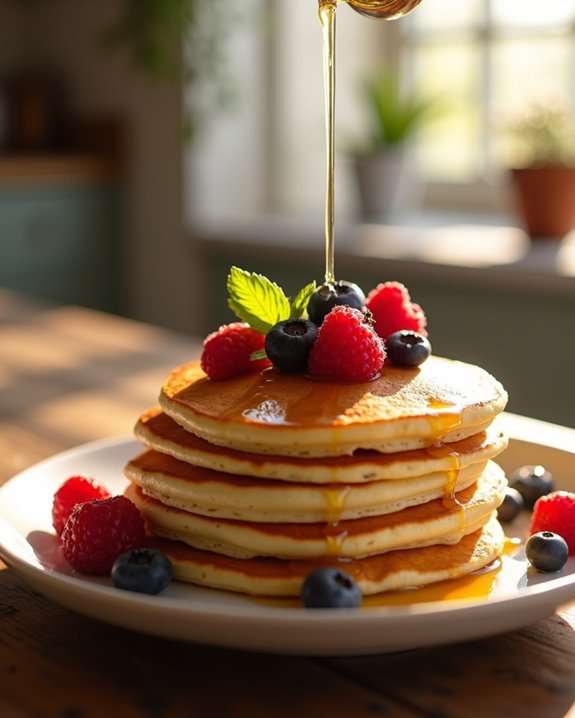
In baking, you can use simple syrup to add moisture to dry cakes, create a glaze for pastries, or sweeten whipped cream. It's particularly useful for soaking sponge cakes in traditional European desserts like tiramisu or rum cake. You can also incorporate it into breakfast dishes by adding it to your morning oatmeal or drizzling it over pancakes and waffles. For a savory twist, try using herb-infused simple syrup in vinaigrettes, marinades, or glazes for roasted vegetables and grilled meats.
Recipe Notes and Substitutions
You'll find your simple syrup stays fresh for up to a month when stored in an airtight container in the refrigerator, though darker-colored variations might have a shorter shelf life. For unique flavor variations, try swapping regular sugar with brown sugar, honey, or agave nectar, keeping the same 1:1 ratio with water. When experimenting with add-ins like herbs, spices, or fruit peels, steep them in the hot syrup for 30 minutes before straining, which allows the flavors to fully infuse without becoming bitter.
Storage Tips
Once prepared, your homemade simple syrup needs proper storage to maintain its quality and prevent spoilage. You'll want to transfer the cooled syrup to an airtight container, preferably one made of glass or food-grade plastic, before placing it in the refrigerator.
- Store your simple syrup in the refrigerator at 40°F (4°C) or below to maximize its shelf life
- Choose containers with tight-fitting lids to prevent contamination and absorption of other food odors
- Label your container with the date you made the syrup to track its freshness
- Keep the syrup away from strong-smelling foods, as sugar can absorb surrounding odors
When stored properly, your simple syrup will typically last 3-4 weeks in the refrigerator. If you notice any cloudiness, off-odors, or mold growth, it's time to discard the syrup and make a fresh batch.
Flavor Variations
While traditional simple syrup serves as an excellent base, adding flavoring ingredients during preparation can transform this basic sweetener into unique flavor profiles for your cocktails and beverages. You can infuse your syrup with fresh herbs like mint, rosemary, or basil, adding them during the heating process and straining them out once cooled. For fruit-flavored variations, try adding fresh berries, citrus peels, or ginger while the mixture simmers.
Spice-infused syrups offer another dimension of flavor – try adding cinnamon sticks, vanilla beans, or star anise to create warming notes. You'll want to let these ingredients steep for about 30 minutes before straining. For floral notes, consider adding dried lavender, rose petals, or elderflower during the cooling process.
Troubleshooting Your Simple Syrup
Several common issues can arise when making simple syrup, but most are easily fixable with the right knowledge. If you're experiencing problems, identifying the specific issue is your first step toward a solution.
Don't let syrup troubles discourage you. Most common problems have simple solutions once you identify what's wrong.
Here are the most common simple syrup problems and their fixes:
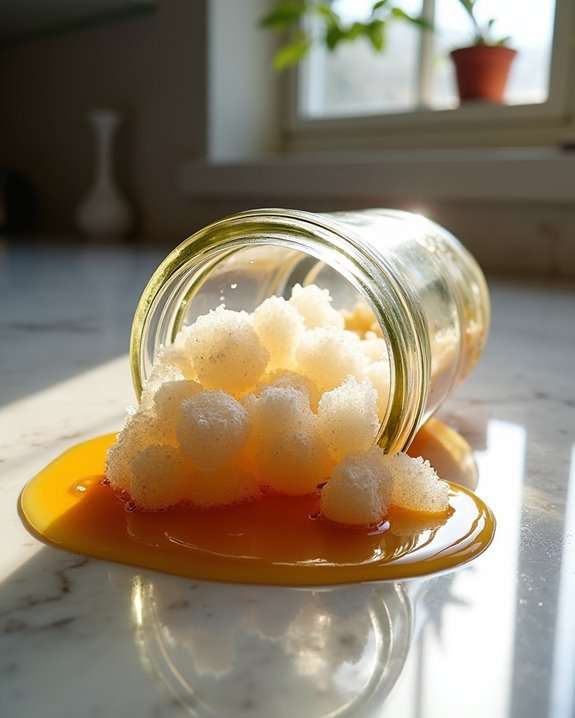
- Crystallization: If sugar crystals form, gently reheat the syrup and add a teaspoon of corn syrup to prevent future crystallization
- Cloudiness: Strain your syrup through a fine-mesh sieve or cheesecloth to remove impurities, or use filtered water from the start
- Mold growth: Store syrup in a sterilized container and keep it refrigerated; add a splash of vodka to extend shelf life
- Too thick or thin: Adjust the consistency by adding more water for thin syrup or reducing it further for thick syrup
If your syrup develops an off-smell or unusual color, it's best to discard it and start fresh with clean equipment and fresh ingredients.
Frequently Asked Questions
Can I Make Simple Syrup With Artificial Sweeteners Instead of Sugar?
Yes, you can make simple syrup with artificial sweeteners, but you'll need to adjust the ratios and process. For sugar substitutes like Splenda or stevia, use 1 part sweetener to 2 parts water, as artificial sweeteners are more concentrated. Heat the mixture until just warm, not boiling, to prevent any bitter aftertaste. Keep in mind that your sugar-free syrup may have a shorter shelf life than traditional simple syrup.
Is It Safe to Double or Triple the Recipe?
Ever wondered about making a bigger batch? You can absolutely double or triple your simple syrup recipe with confidence. The 1:1 ratio of water to sugar remains the same regardless of quantity – just multiply both ingredients equally. For example, if your recipe calls for 1 cup each of water and sugar, you can safely use 3 cups of each to triple it, and the process stays identical.
Why Does My Simple Syrup Crystallize Even When Stored Properly?
Crystallization occurs when your syrup's sugar molecules realign and form solid structures, often triggered by temperature fluctuations or impurities. You can prevent this by adding a small amount of corn syrup (about 1 tablespoon per cup) to interfere with crystal formation, ensuring your pot and utensils are completely clean, and avoiding stirring once the syrup has cooled. Store it in an airtight container at a consistent temperature.
Can I Use Brown Sugar or Coconut Sugar for Simple Syrup?
You can use brown sugar or coconut sugar to make simple syrup, but expect different results. Brown sugar creates a richer, molasses-flavored syrup that's perfect for fall cocktails and coffee drinks. Coconut sugar produces a caramel-colored syrup with subtle caramel notes, though it might be grittier than regular simple syrup. Both alternatives work with the same 1:1 ratio as white sugar, but they'll yield darker syrups with distinct flavor profiles.
What Causes Cloudiness in My Simple Syrup and Is It Still Safe?
Don't let cloudy syrup rain on your parade – it's usually completely safe to consume. Cloudiness typically occurs when sugar crystals form during cooling, particularly if you've stirred the mixture while it was hot or if there's excess sugar. Sometimes, impurities in your sugar or water can also cause haziness. Your syrup remains safe to use unless you notice any off-putting smells, mold, or fermentation.